You may need to install the HotDoc Sidebar and connector service if your practice:
- Has just signed up to use HotDoc as a service provider
- Has gone through a server migration or update which has removed the previous instance of HotDoc
- Has a new or existing workstation that requires the HotDoc Sidebar (e.g. a reception computer)
Follow the steps below to be taken through the system requirements needed for HotDoc and the installation instructions, or log into your HotDoc Dashboard and navigate to Setup > Install HotDoc for further information.
|
In this article |
Configuring the Optomate Database for HotDoc
Requirements
You are required to configure the practices Optomate Database for HotDoc, so that we can connect with the practice as expected. You will need:
- Access to a computer in the practices local network, logged in as an Administrator
- The computer name, or IP address of the Optomate database server
- SQL Server Management Studio (or a database IDE able to authenticate and execute SQL queries) installed on the machine you are using. (Download it here)
- A password for the HOTDOC user, which is to be used later for configuration
How to configure the Optomate Database
-
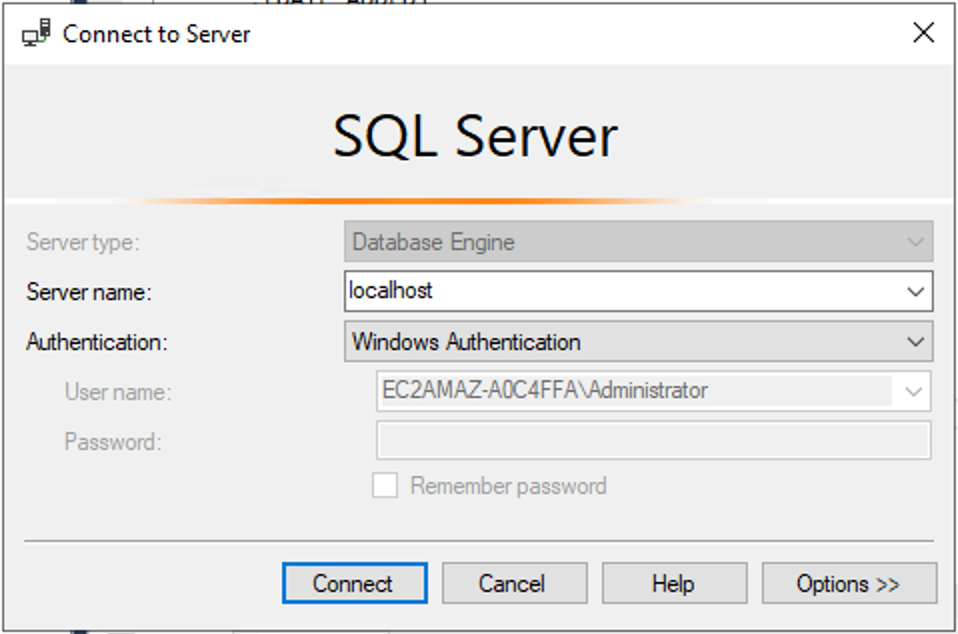
Log in to the database server. Open SQL Server Management Studio and choose Connect > Database Engine…

-
If you are on the Optomate database server:
-
Next to Server name: enter
localhost(otherwise provide the database server’s IP or computer name here) -
Next to Authentication: Choose Windows Authentication
-
Select Connect:
Please note: If the Optomate database is installed on a SQL Server instance, provide the instance separated with a backslash:Eg.
localhost\OPTOMATE.If you aren’t sure if it’s installed on a named instance, skip to troubleshooting to find out.
-
-
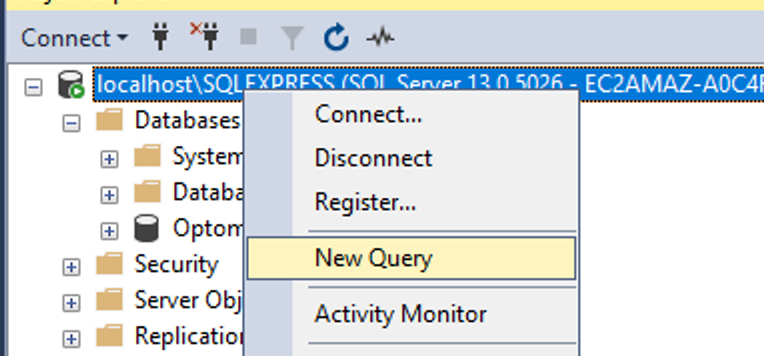
Once connected, right click on the server and select New Query:
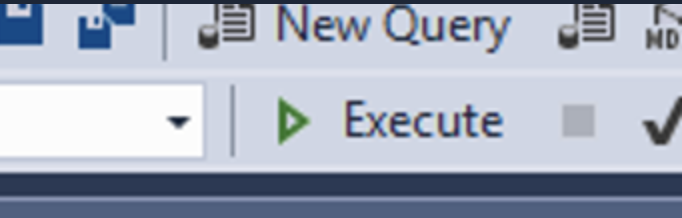
- Click this link to download the script, Copy it and paste it into the new query window. Then, click Execute or F5:
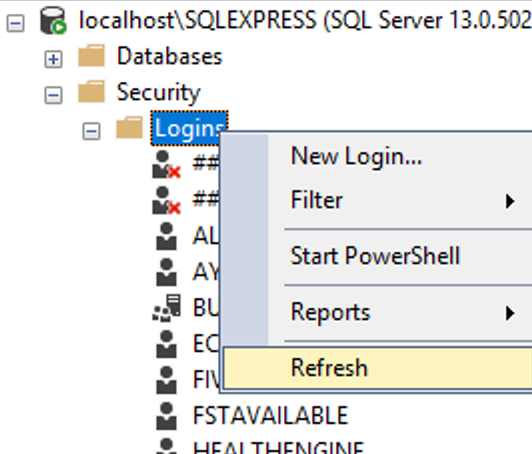
- In the Logins folder, click Refresh. Here you will see a newly created database user called HOTDOC ( We will use this to configure your connection to HotDoc).
- Double click the HOTDOC user in the list to set a password. Enter your chosen password twice into the Password & Confirm password fields, then select Save.
Please take note of this password, we will use this to configure your connection to HotDoc.

- You are now ready to install HotDoc and configure HotDoc to Optomate with the database user and password! Please follow the next set of instructions below.
How to install if you are new to HotDoc, or have performed a server migration/update
Minimum Requirements
- Windows XP, Vista, Server 2003, Server 2008R1 are known to have compatibility issues with the latest versions of HotDoc (version 3.3.x and above). If you are using one of these legacy Operating Systems, contact HotDoc for an appropriate earlier version.
- For HotDoc versions 3.60.x and above .NET 4.5 is required. This is included by default with Windows 8, Windows 10 and Windows 2012. For older Windows editions it can be downloaded from https://www.microsoft.com/en-au/download/confirmation.aspx?id=42642
- If your configuration denies by default, then the following domains must be added to the allow list on your firewall:
- *.hotdoc.com.au
- *.pubnub.com
- au-com-hotdoc.s3.amazonaws.com
- au-com-hotdoc-ember-production.s3.amazonaws.com
- d4c51m54o196o.cloudfront.net
- maps.googleapis.com
How to install on a server
- Log in to your server using an administrator account.
- Download the HotDoc installer from this link.
- Run the installer and follow the prompts (leave all defaults unless you require a different install directory)
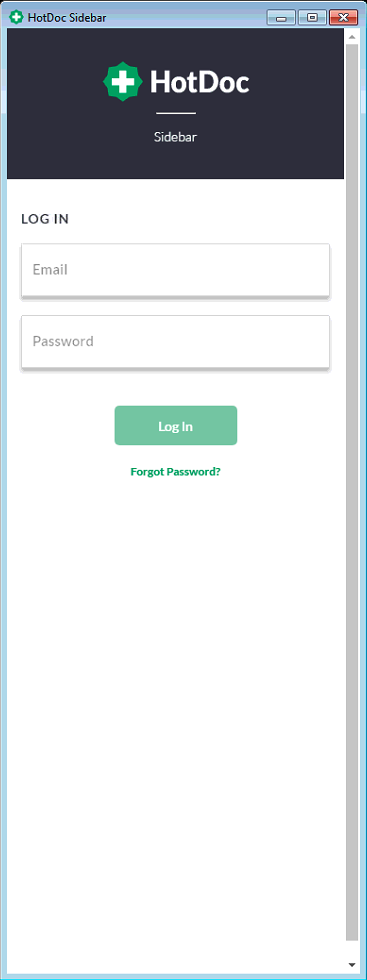
- Once installed, the Sidebar should automatically open on the right of your screen, and a shortcut should appear on your desktop. Log in to the HotDoc Sidebar using your User Account details (the email you received your user invitation to as well as the password that you set):
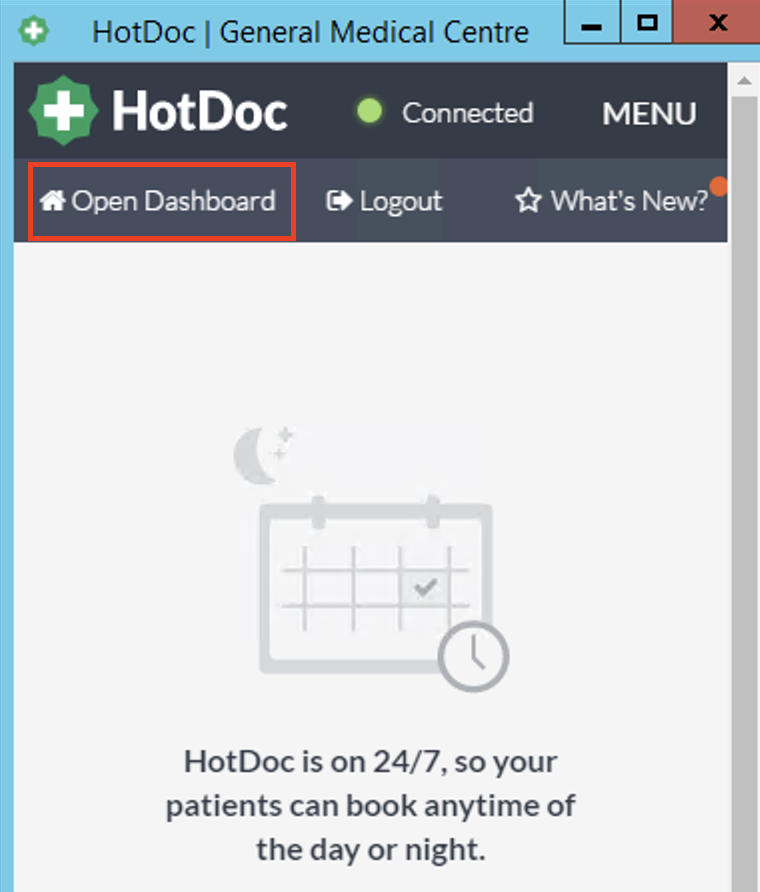
- Once logged in, click ‘Open Dashboard’, and a new window will open with the HotDoc Dashboard login page:
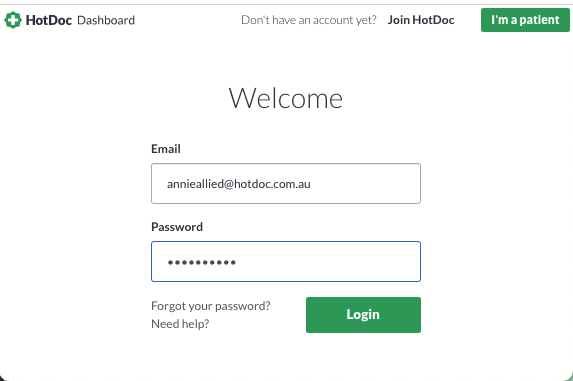
- Log in to the HotDoc Dashboard with the same User Account details used for the Sidebar:
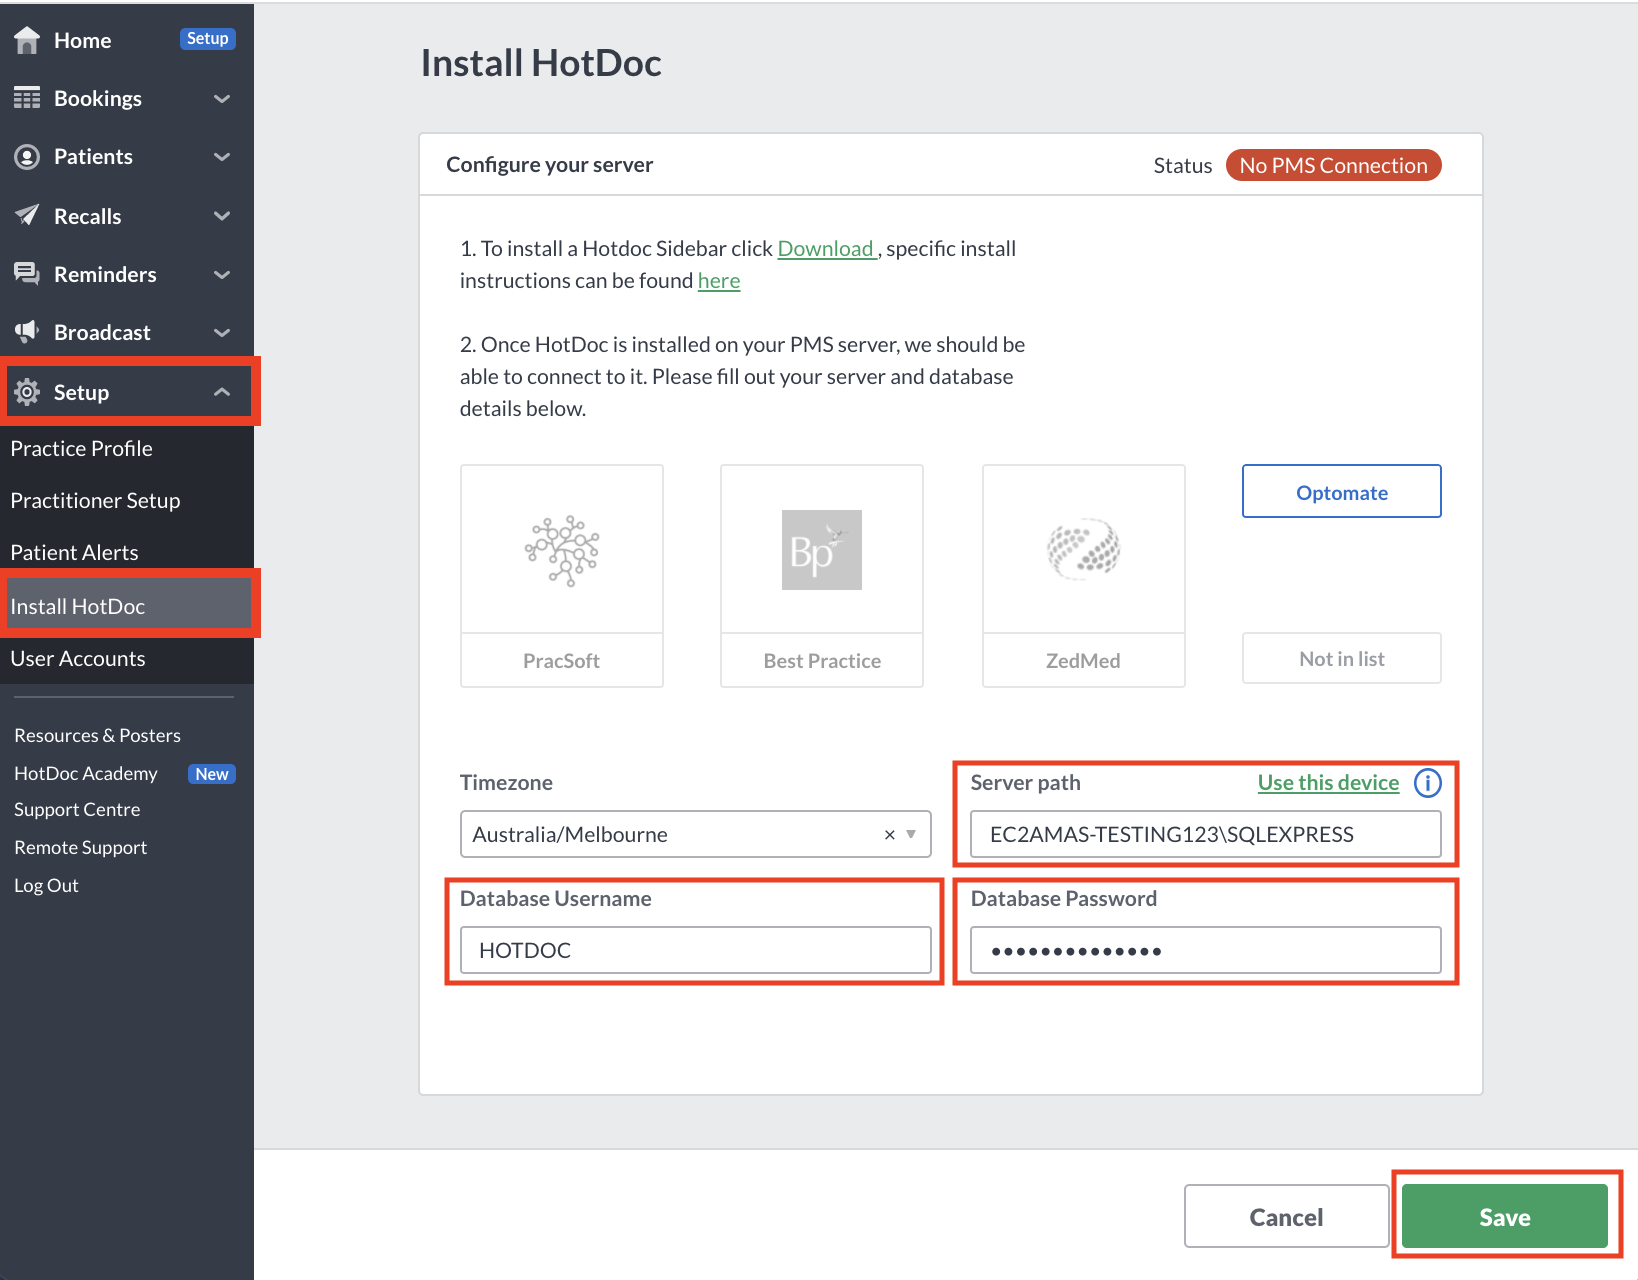
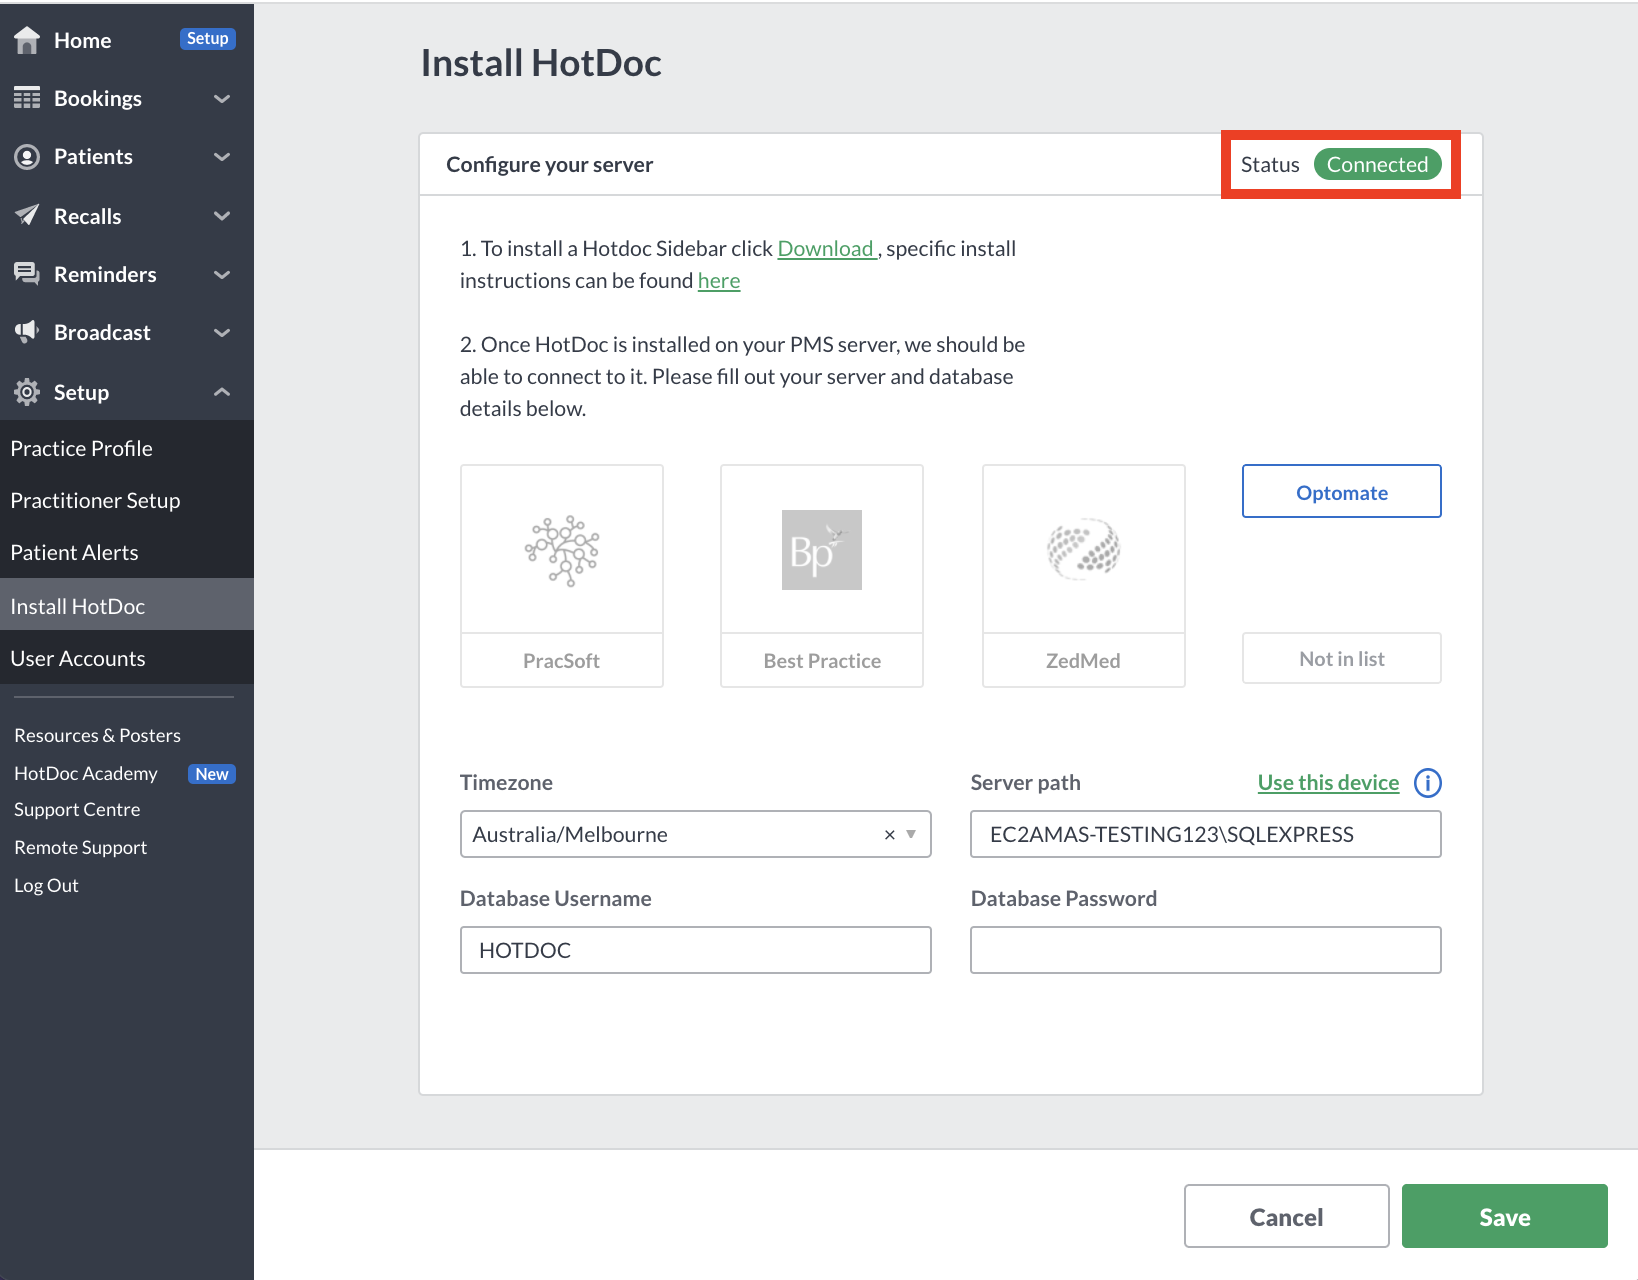
- Navigate to Setup > Install HotDoc. Ensure Optomate is selected, then complete the following before pressing Save:
- Server Path: Enter your server path, then add \SQLEXPRESS on the end.
Note: If you're currently on the server, click ‘Use this device’ to set the ‘Server path’ to the current machine’s computer then add \SQLEXPRESS to the end. - Database Username: HOTDOC
- Database Password: Your password set when configuring Optomate (above)
- Server Path: Enter your server path, then add \SQLEXPRESS on the end.
- Once complete, you should see a green Connected light in the Dashboard if successful.
- The practice's public profile can now be configured under Setup > Practice Profile.
How to install on a new workstation (not a server)
We recommend that the HotDoc Sidebar is installed on appropriate workstations at the practice so your reception team can monitor any patient requests that require actioning.
After completing the server installation, please see How to download the HotDoc Sidebar for downloading the Sidebar onto any reception workstations.