This checklist is for practices using the HotDoc Appointment Calendar, who are ready to go live with their HotDoc Bookings. Please check through the following items to ensure you've completed everything.
1. Assign all HotDoc appointment types a colour
- To check this, navigate to Bookings > Appointment Types.
At the left of the appointment name, there will be a vertical coloured bar.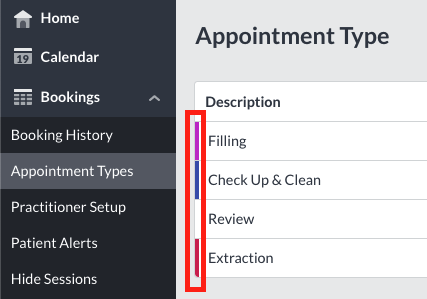
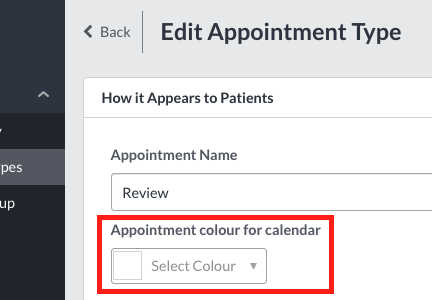
- If this isn't showing for some or all of your appointment types, click the Edit button on the appointment, then select a colour from the selector underneath the appointment name.
2. Complete practitioner availability setup
Please see detailed steps on how to do this here. Also ensure that you allow for any breaks. For example, if the practitioner works from 9am to 5pm with a one hour break at 1pm, two separate sessions will need to be setup - one from 9am to 1pm and another from 2pm to 5pm.
3. Open and log in to the HotDoc Sidebar
Make sure you are logged into the HotDoc Sidebar at all times. You can install the Sidebar on each of your computers using the instructions in this article How to download the HotDoc Sidebar. You can also use the web sidebar, which you can access via your Dashboard by clicking Open Sidebar in the top right hand corner.
4. Set up user accounts for your staff and practitioners
You can find instructions on how to set up all types of user accounts by viewing the page How to create, edit or delete a User Account (Sidebar, Dashboard, Practitioner View). Once you create the invitation, an email will be sent to the practitioner asking them to create a password.
5. Add the HotDoc Booking widget to your website
- Add the HotDoc Booking widget to your website.
You can find further instructions here: How to install the HotDoc widget or lightbox on to your website
6. Share knowledge with your team at the front desk
Please share the following resources with the team:
-
Our online learning modules at HotDoc Academy
Congratulations! You're ready to start accepting bookings via HotDoc!
To make your practice visible on HotDoc and allow patients to start booking, navigate to the Home page on your Dashboard.
Make sure all items in the checklist are ticked, then click the Activate Bookings button.