In order to setup HotDoc at your practice for online bookings, you must first configure Cliniko and HotDoc using the instructions in this article. Doing this ensures:
- We sync practitioner, appointment and schedule information from Cliniko to HotDoc
- Patients can search for and book appointments online via the HotDoc website and app
- Appointments seamlessly integrate into your Cliniko Appointment Book
Please follow the steps below to complete this configuration and set up HotDoc at your practice.
|
In this article |
What you'll need
In order for Cliniko and HotDoc to integrate, we require an API key from Cliniko to be entered into the HotDoc Dashboard. Before you do the configuration, you'll need:
- Your HotDoc user account login details to log into the Dashboard (email and password)
- An API Key Generated from Cliniko (copy this key immediately otherwise it will disappear)
Once you have these two things, please follow the steps below to configure your integration.
How to configure Cliniko for HotDoc
Ensure you have access to the API key from Cliniko and follow the steps to configure HotDoc:
- Log into the HotDoc Dashboard with your HotDoc user account email and password, then press Login:

- On the home page, click Get Started under step 1 of the bookings checklist:

- You will be directed to the Setup > Install HotDoc section. Enter the Cliniko API key into the API Key field and press the Save button:

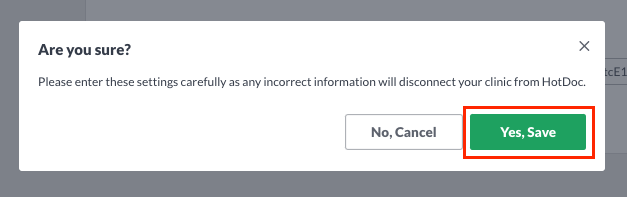
- Confirm the details and select Yes, Save to continue. We will then start syncing your information from Cliniko to HotDoc such as your appointment types, practitioners, schedules and existing appointments.
- Click the Home tab and complete the rest of the checklist to setup your practice profile, appointment types and practitioners for online bookings.
|
Please note: It will take up to 20 minutes from the time you enter your API key to sync your Cliniko schedules and appointments to HotDoc. |
Installing the HotDoc Sidebar
You are required to install the HotDoc Sidebar to process online bookings that require manual actioning from your team. We recommend installing this on your reception/manager computers so that you are notified of any bookings that come through to the Sidebar.
To install this, please see the article below and navigate to the 'Cliniko' tab:
To learn how to process a bookings that may come through to the Sidebar, please see the article below: