Logo
Sign in HotDoc Academy Submit request Remote support I'm a patient

  1. HotDoc Support
  2. Browse By Feature
  3. Check-In

  1. HotDoc Support
  2. Browse By Feature
  3. Check-In
Print Friendly and PDF   Follow

How to setup your Kiosk Chromebase Hardware

Last updated 09 December 2024 01:34   ∙   ~ minute read
Best Practice - Medical Director (Pracsoft) - Zedmed

If you have a Chromebase 22" device, please follow the instructions below to set up the hardware.


   In this article

  • What you will need
  • How to set up your hardware


What you will need

Below explains what you will need to set up your device. 

Screen_Shot_2019-07-09_at_5.34.23_pm.png


How to setup your hardware

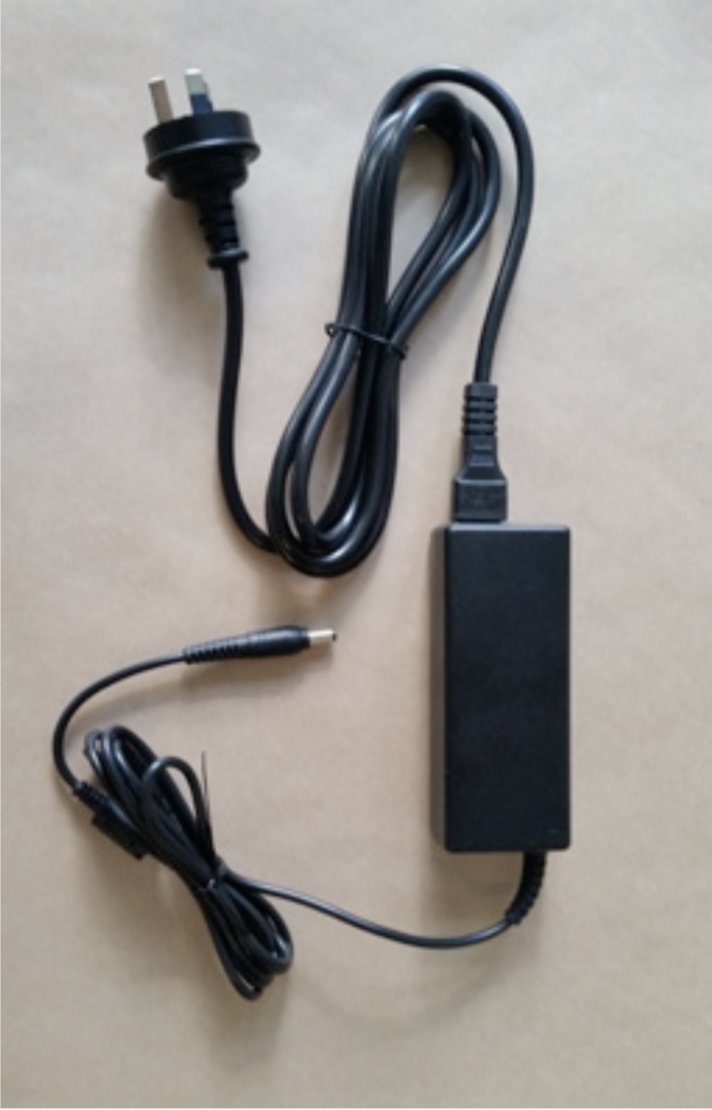
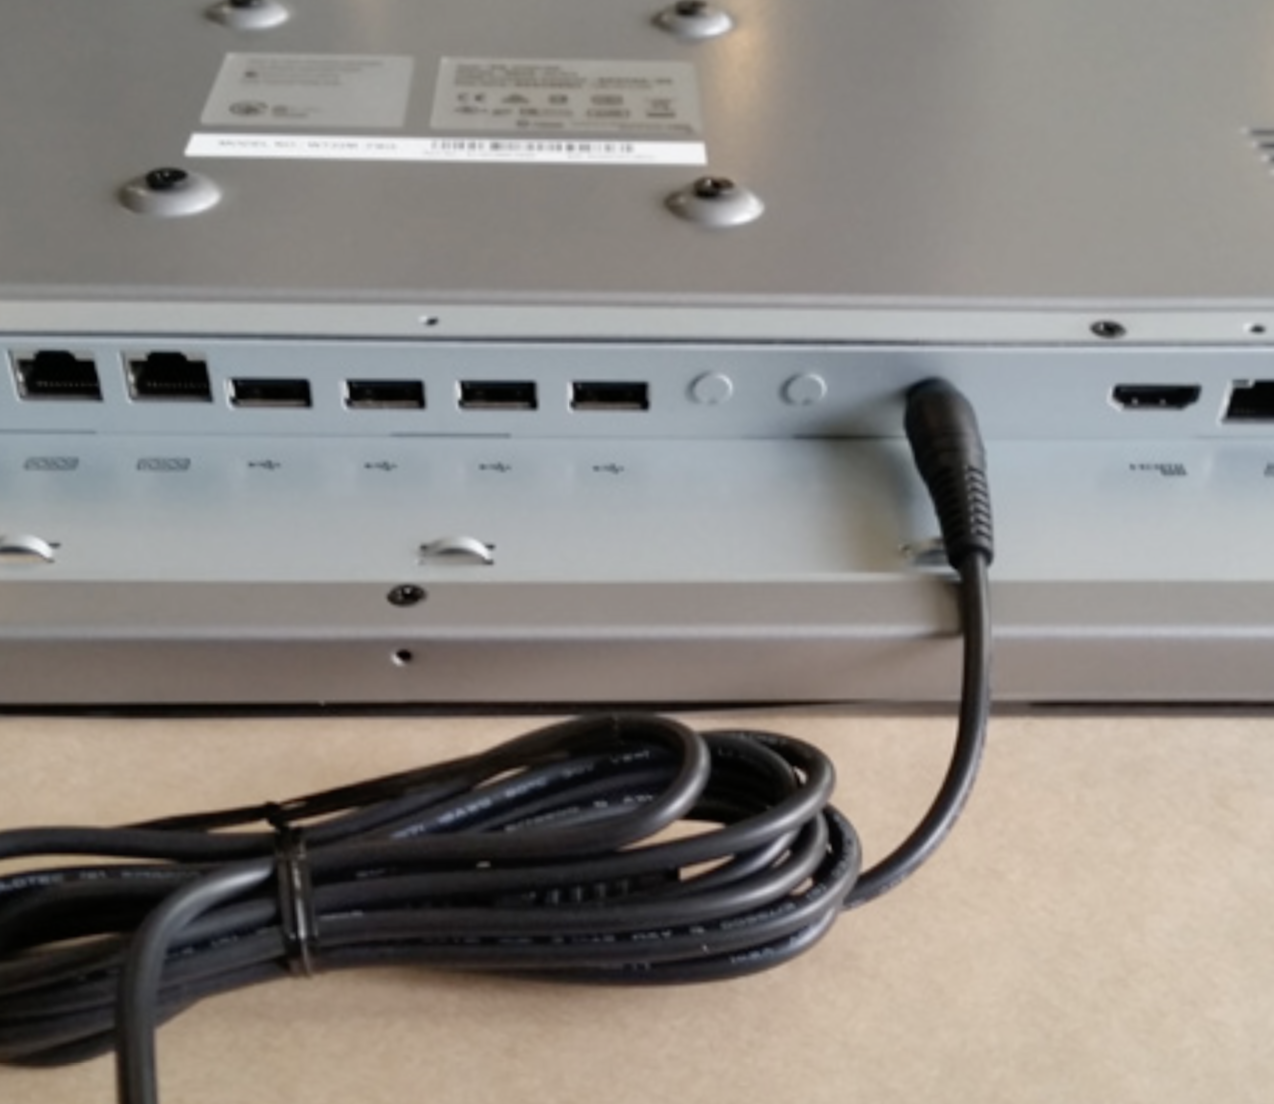
  1. Connect the power cable to the power adaptor and plug the cord into the centre hole of the Chromebase:

    Screen_Shot_2019-07-09_at_5.29.39_pm.png Screen_Shot_2019-07-09_at_5.29.46_pm.png

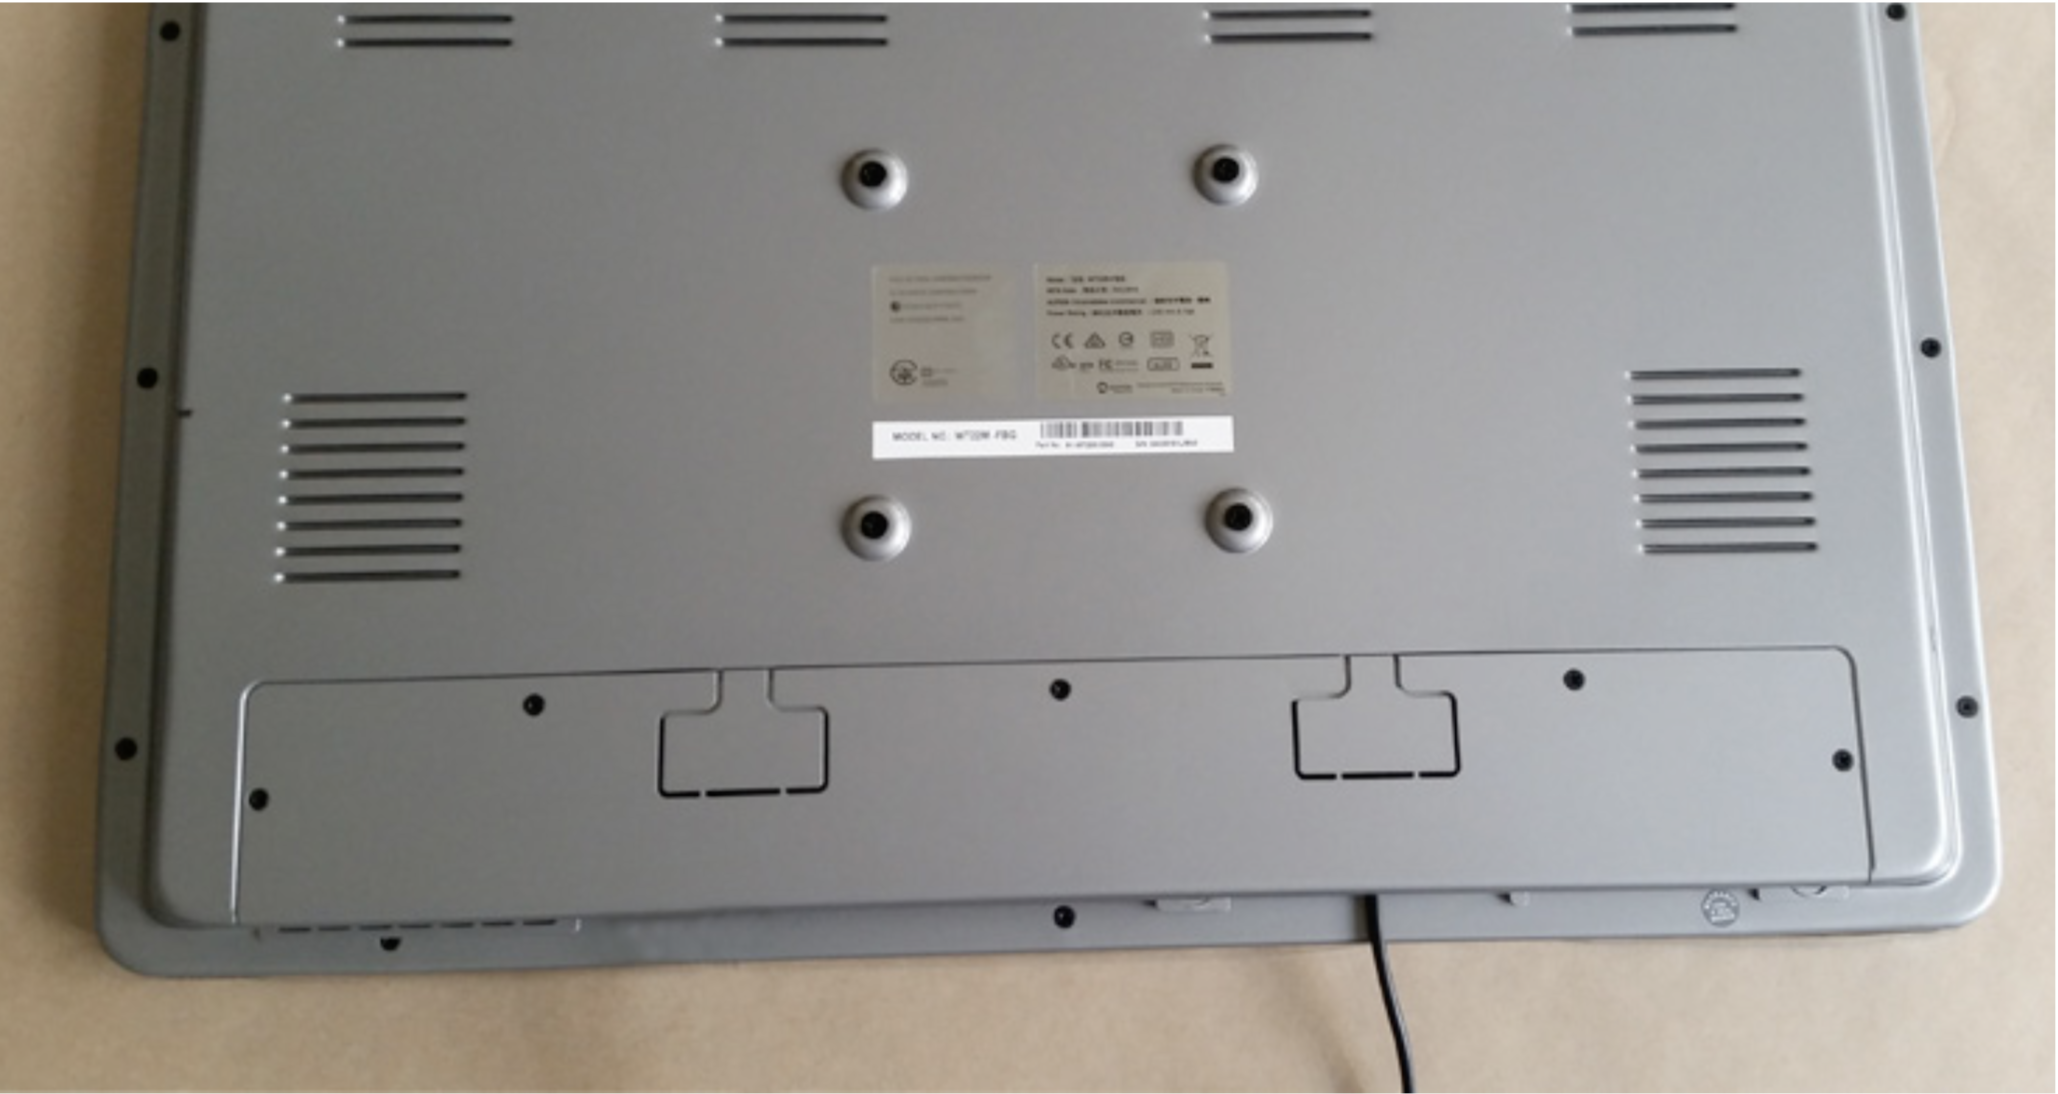
  2. Screw on the backing:

    Screen_Shot_2019-07-09_at_5.31.26_pm.png

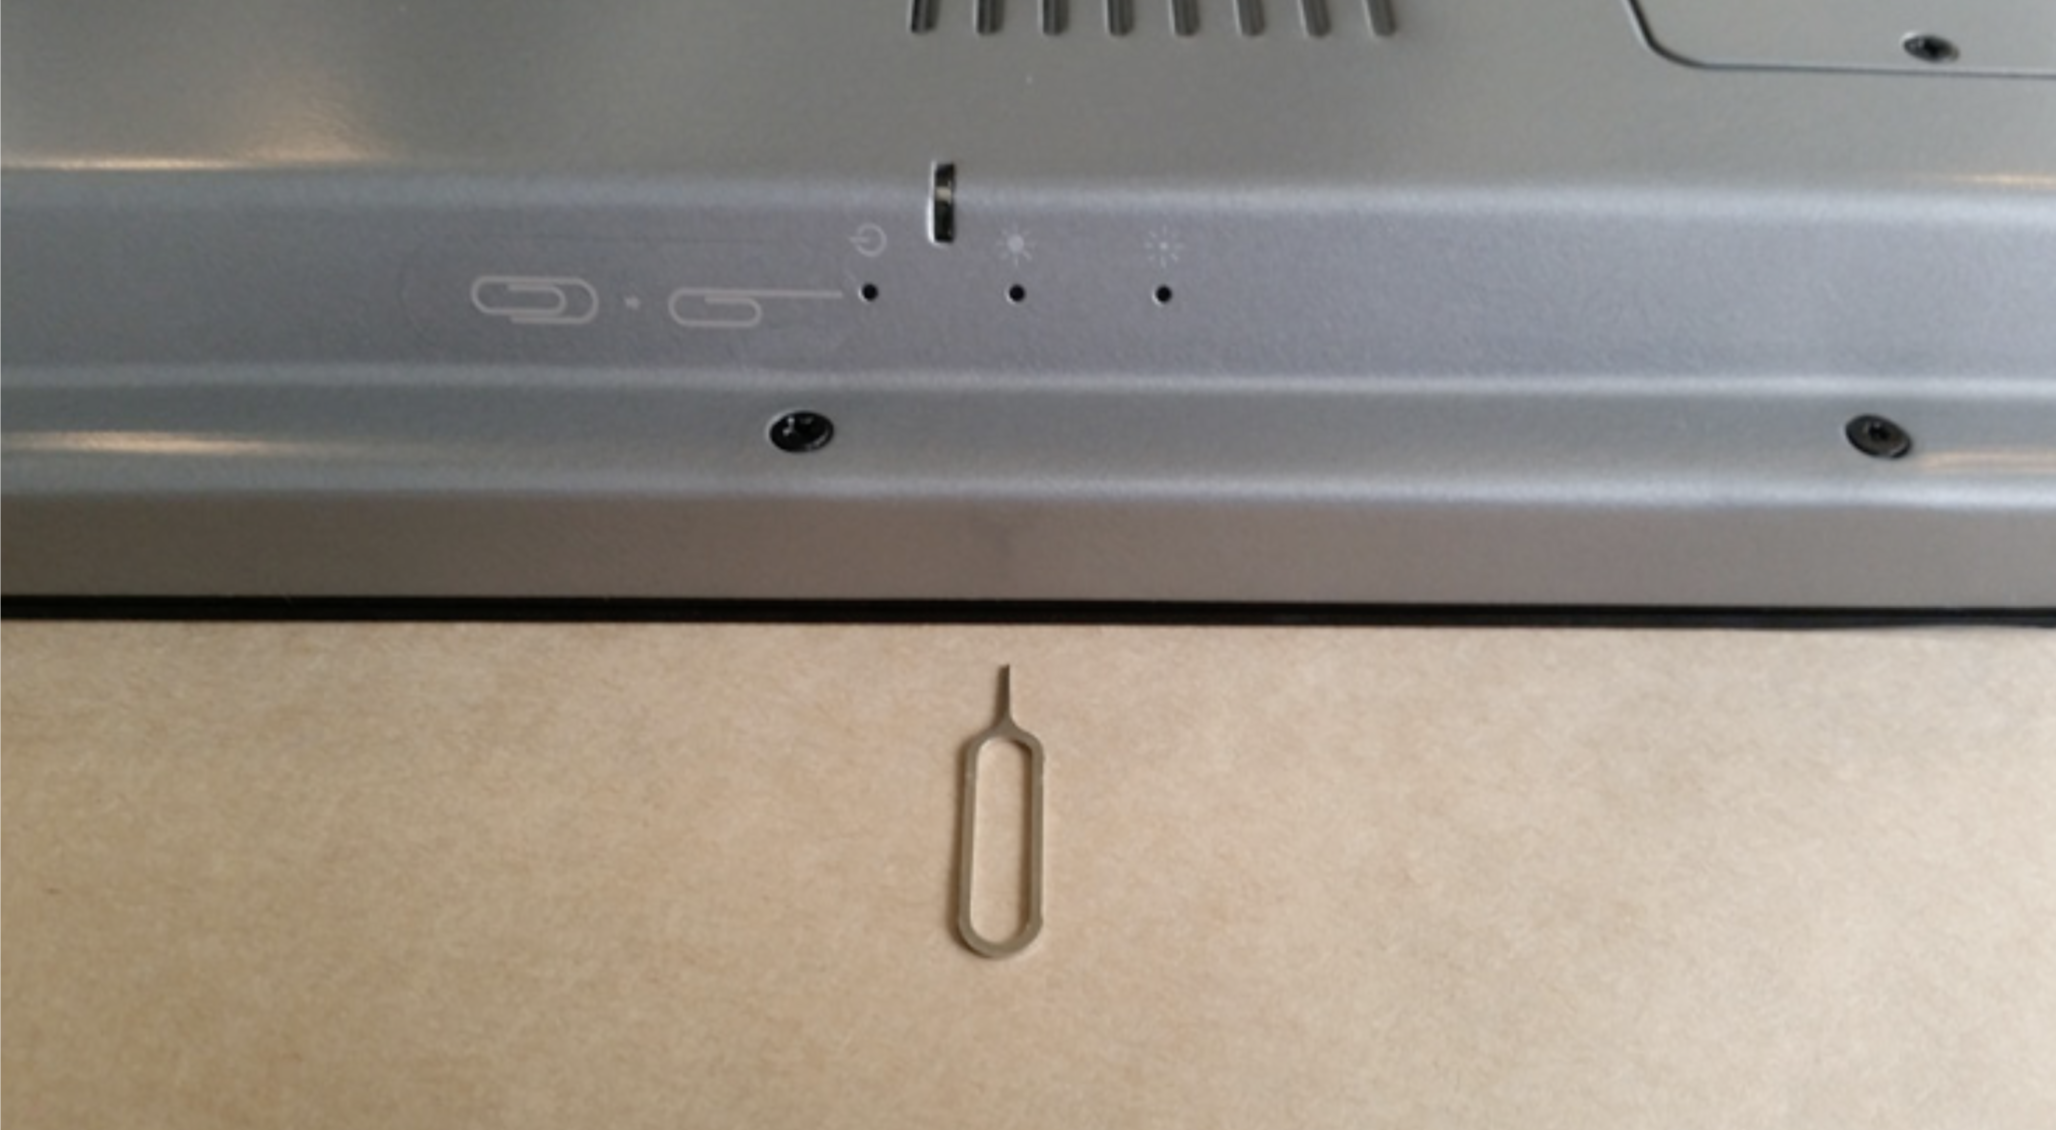
  3. Use the button tool to turn on the power or adjust the brightness of the screen:

    Screen_Shot_2019-07-09_at_5.32.07_pm.png
Was this article helpful?
Submit Feedback

5 out of 10 found this helpful

Related articles

  • Getting Started with Kiosk
  • How to set up and install HotDoc Kiosk for iPad
  • What is HotDoc Check-in?
  • Check-in Kiosk is not loading or not connecting to our wifi
  • How much does HotDoc cost?

Related articles

  • Getting Started with Kiosk
  • How to set up and install HotDoc Kiosk for iPad
  • What is HotDoc Check-in?
  • Check-in Kiosk is not loading or not connecting to our wifi
  • How much does HotDoc cost?
© 2023 HotDoc Online Pty Ltd | Terms of Service | Privacy Policy | Contact Us
© 2023 HotDoc Online Pty Ltd

Terms of Service | Privacy Policy