Best Practice - Medical Director (Pracsoft) - Zedmed
Question
I've just received my Check-in Kiosk. How do I set it up?
Solution
HotDoc Kiosk is an easy to use check-in system that allows patients to check themselves in for their upcoming appointment at your practice. To set up your new Kiosk, please follow these steps:
- Connect the kiosk to a power outlet and switch on the kiosk.
- Enter your WiFi network and password details. Alternatively, connect an ethernet cable.
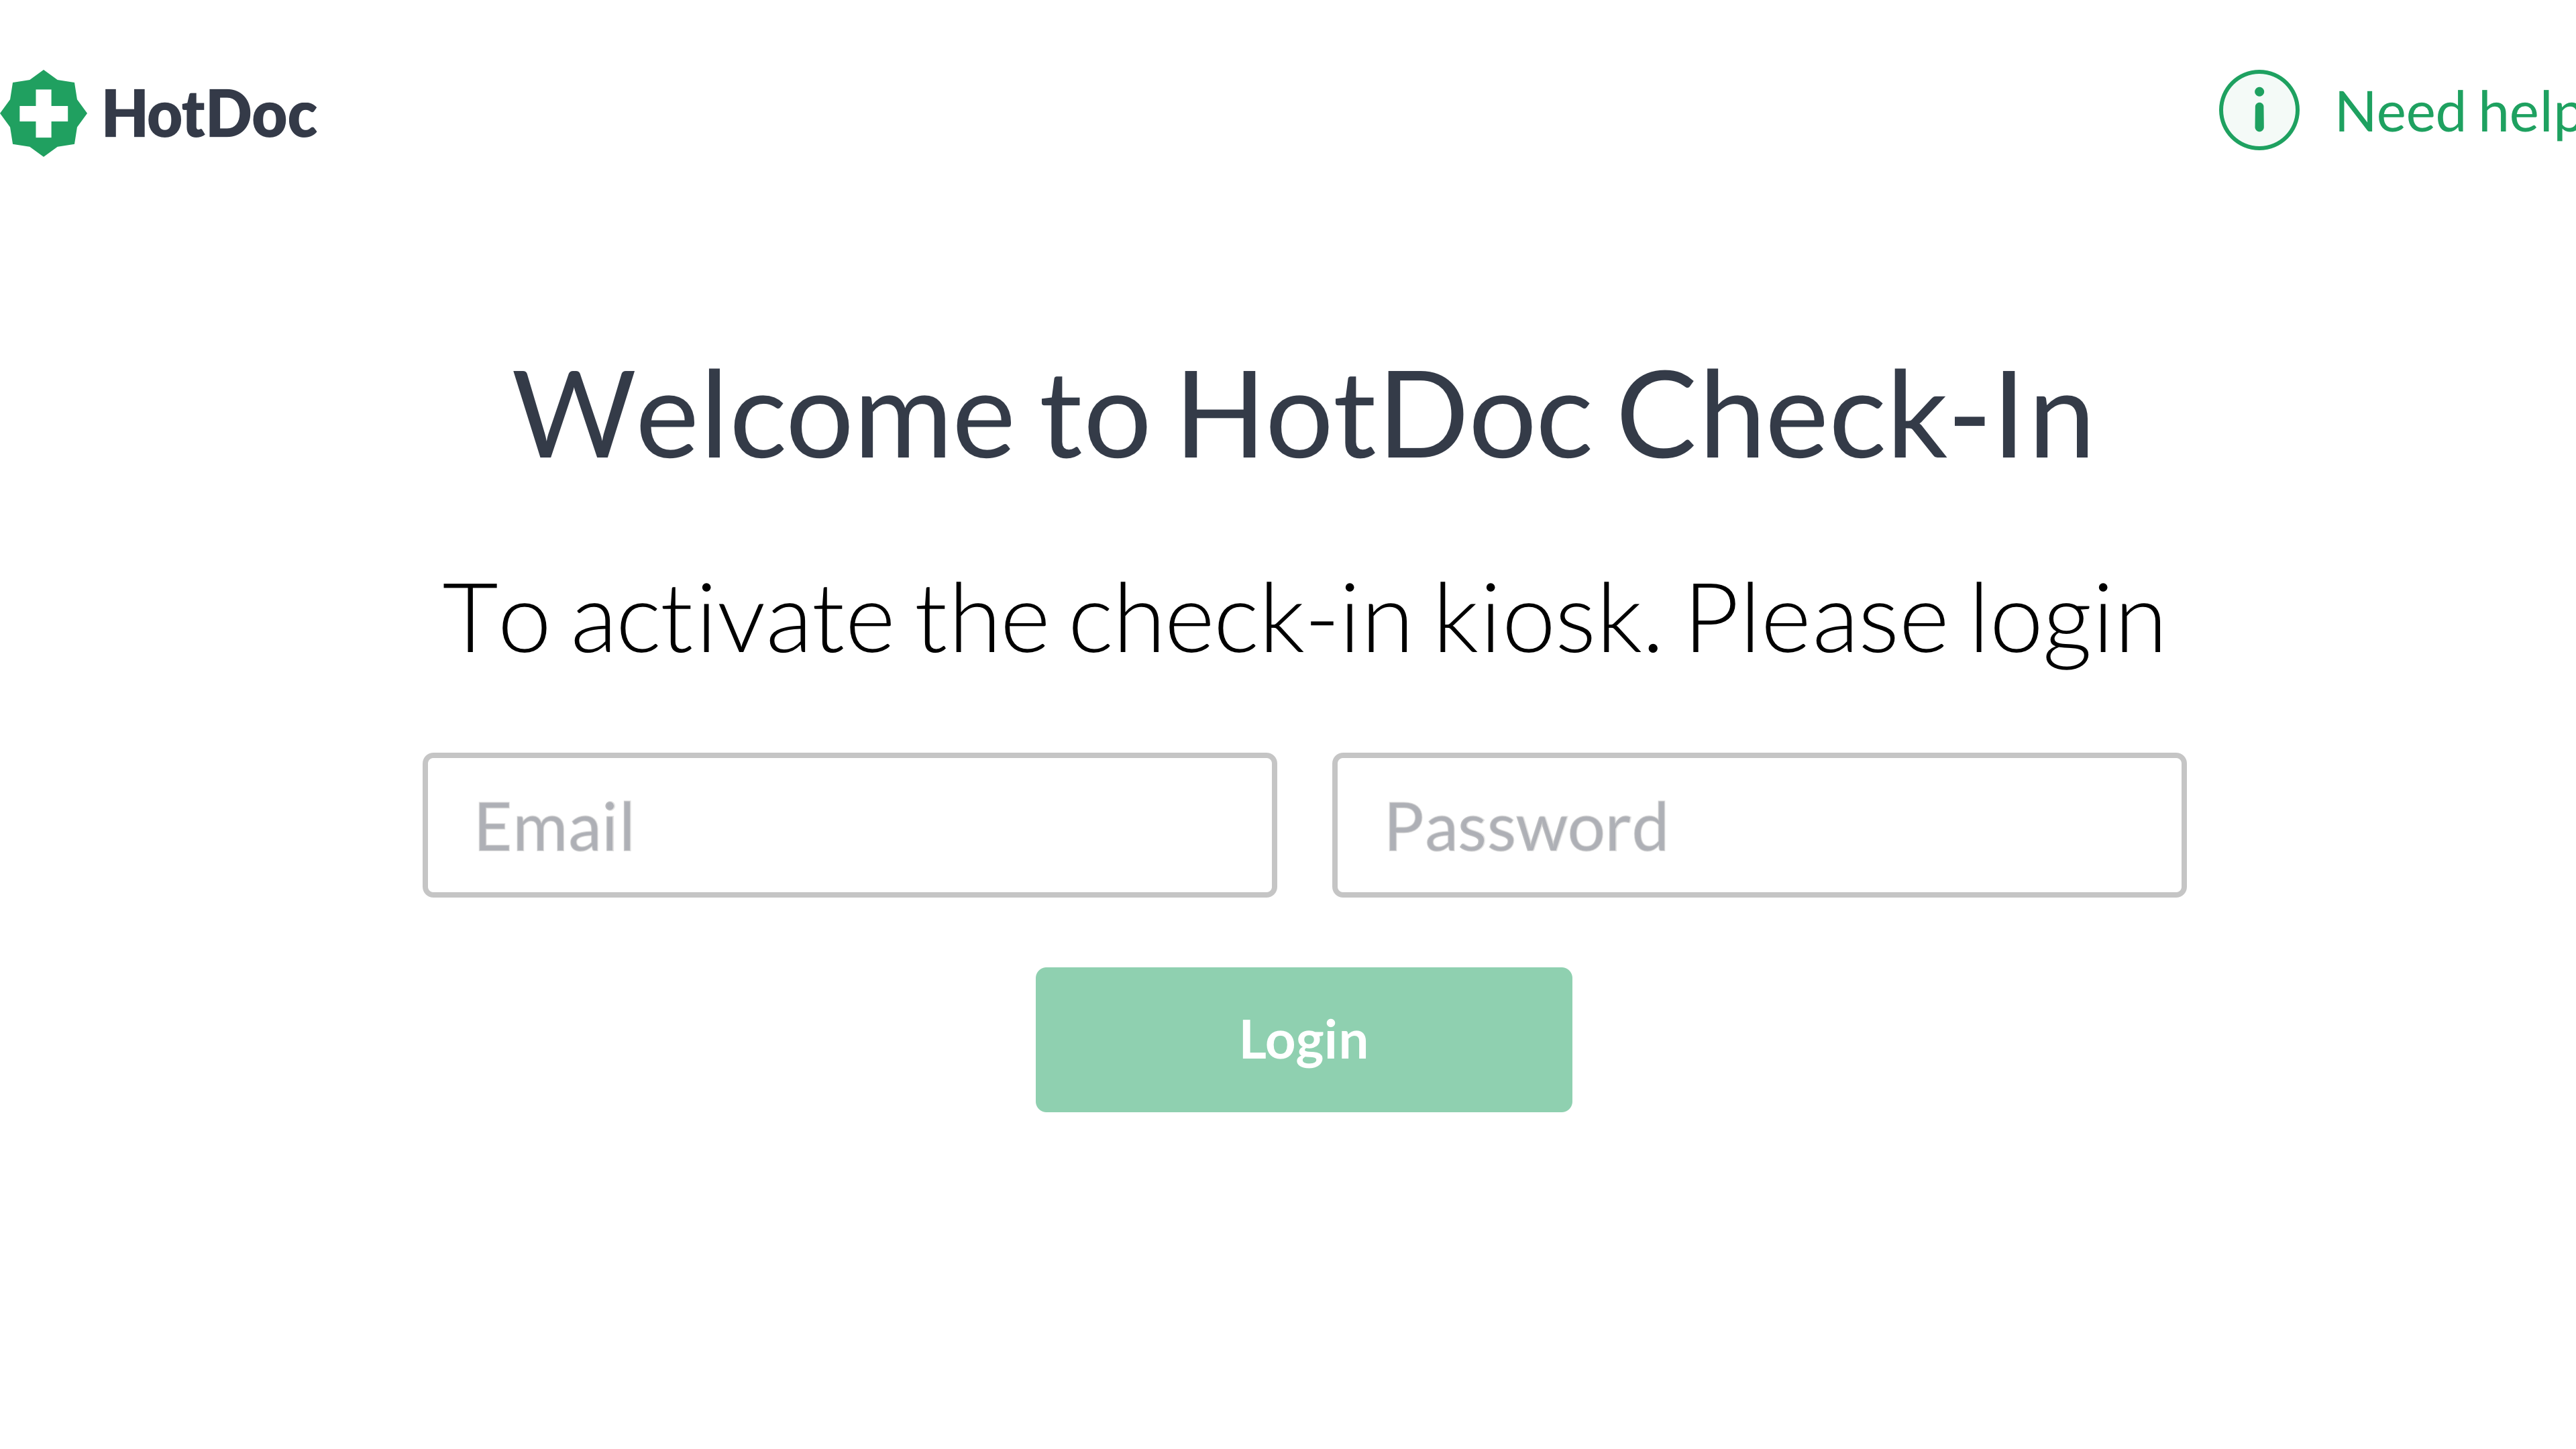
- Log in using your HotDoc Dashboard details:
- When this screen appears, patients will be able to check-in: